🐾 Max’s Dog House Build Guide
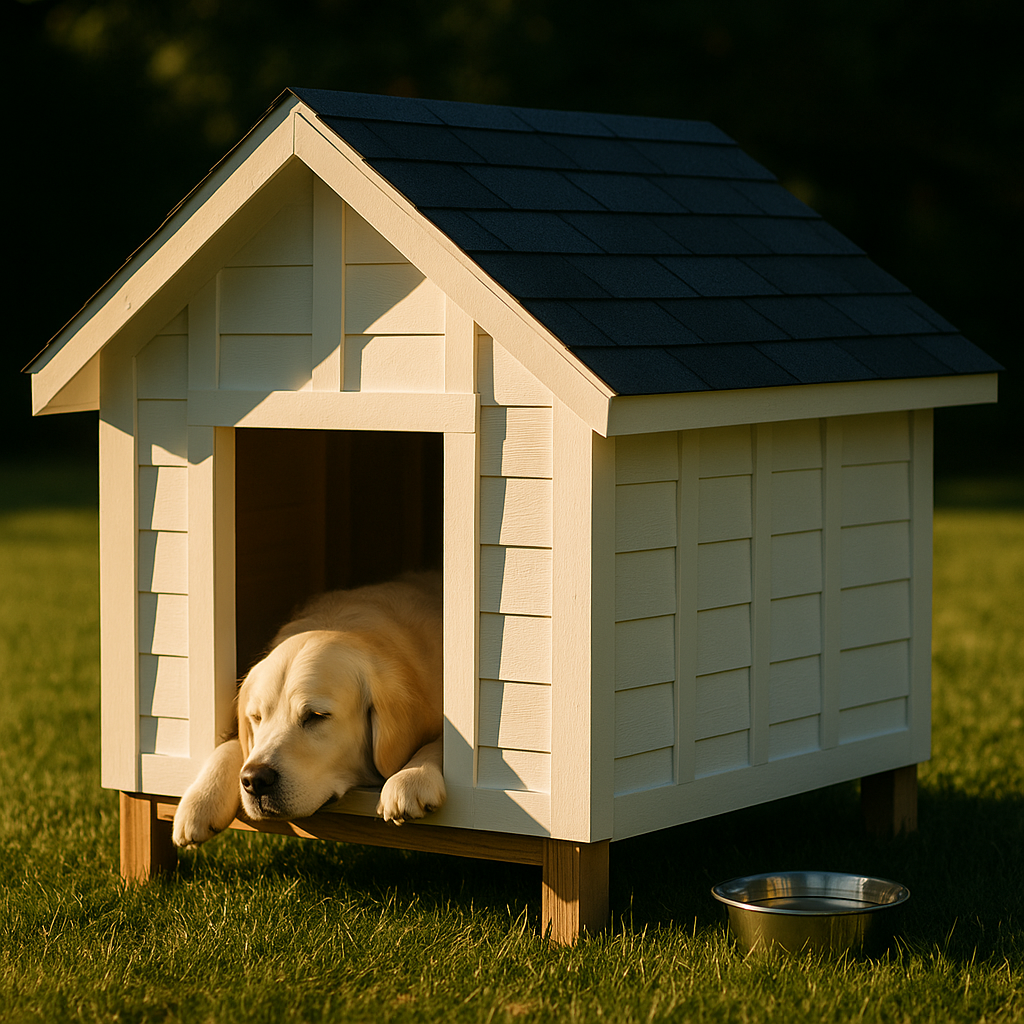
I built my 80 lb golden retriever a serious shelter — raised off the ground, framed like a real house, with a pitched roof and weather-sealed finish. Built to move, made to last.
📦 Bill of Materials (BOM)
- [ ] 2×4 studs – 9 × 8′ boards @ $3.98 = $35.82
- [ ] 4×4 posts (PT) – 2 × 8′ @ $16.50 = $33.00
- [ ] 1×2 trim – 2 × 8′ @ $2.98 = $5.96
- [ ] 1/4″ plywood (4×8, cut to 4×4) – 2 sheets @ $15.98 = $31.96
- [ ] Fence boards – ~14 linear ft (for roofing) = Free (scrap)
- [ ] Exterior white paint (walls/trim) – 1 qt = $18.99
- [ ] Exterior blue paint (roof) – 1 qt = $18.99
- [ ] Silicone caulk – Already on hand
- [ ] Deck screws – 2½″ + 3″ = Already on hand
💰 Estimated Total Cost: ~$145 CAD
✅ Step 1: 🧱 Foundation (Posts & Base Frame)
-
Cut four 4×4 posts to 36″ long.
- This gives ~8″ of clearance under the house.
- Use pressure-treated 4x4s to avoid rot.
-
Lay them out in a rectangle:
- 36″ apart front-to-back.
- 24″ apart side-to-side.
- These are your corner posts.
-
Cut four 2x4s for the sill plates:
- 2 × 36″ (front/back)
- 2 × 24″ (sides)
-
Screw the sill plates around the 4×4 posts about 8″ up from the bottom — this forms the foundation frame the floor will sit on.
✅ Step 2: 🪚 Wall Framing & Joists
-
Cut four more 2x4s for the top plates:
- 2 × 36″ (front/back)
- 2 × 24″ (sides)
-
Cut 4 vertical wall studs, 24″ each.
- One between each corner post on the long sides.
- Screw these between the sill and top plates.
-
Cut floor joists (2x4s):
- 2 or 3 pieces at 24″, laid across the narrow width.
- Screw into the sill frame.
-
Add blocking between joists for added strength (optional but good practice).
✅ Step 3: 🏠 Gable Roof Framing
-
Cut 8 rafter pieces from 2x4s:
- Each about 22″ long with a 45° angle at one end.
- These will pair to form 4 triangular rafters for the A-frame roof.
-
Pair each set into an inverted “V” shape.
- Fasten at the peak with screws.
- Use a birdsmouth notch to help each rafter sit flat on the top plate.
-
Place one rafter at each gable end.
- Place two more evenly spaced between them.
- Screw them directly into the top plates and gable panels.
✅ Step 4: 🪵 Sheathing
-
Use 1/4″ plywood cut to 4’×4′ in-store.
- 2’×4′ also works for some panels.
-
Sheath all surfaces:
- Floor: one 24″×36″ piece.
- Side walls: 2 × 24″×24″.
- Front/back walls: 2 × 36″×24″ + triangle gable pieces.
- Roof: 2 × 36″×30″ (or wider depending on overhang).
-
Fasten sheathing with screws or nails.
-
Cut a 12″×16″ door centered on the front panel, ~3–4″ up from floor level.
✅ Step 5: 🪚 Roof Covering (Fence Boards)
-
Cut fence boards to ~36″ long.
-
Lay boards from bottom to top on each roof slope, overlapping ~1″.
-
Secure each with 2–3 screws per board into rafters.
-
At the peak, use two short boards for a ridge cap, overlapping both sides.
✅ Step 6: 🚪 Door & Trim
-
After cutting the door opening, sand the edges.
-
Trim the doorway with 1×2 pieces:
- Cut to frame each side and top.
- Fasten with nails or screws.
-
Optional: Add a door flap later using canvas or rubber.
✅ Step 7: 🎨 Paint & Finishing
-
Prep: Sand rough edges and fill screw holes if desired.
-
Caulk: Use leftover silicone at panel seams and trim edges.
-
Paint:
- White for siding and trim
- Blue for the roof
- Use exterior-grade paint only
-
Apply 2 coats and let fully dry between each.
🎁 Done
You now have a weatherproof, elevated, framed doghouse worthy of a golden retriever named Max. Built to survive three moves and Canadian weather.